In this final process and production workshop with Nick, we were cutting bread to create the alphabet which was then turned into a GIF. I used multiple styles of creating each letter out of my loaf. I've used the thick bits, the crusts and the crumbs to get different textures and tones with the colours. I've also collaged a photograph of the letters. Here is my video below:
Showing posts with label Process and Production 2. Show all posts
Thursday, 19 April 2018
Wednesday, 21 March 2018
6. Photoshop Practice
In this workshop, we edited some files on Photoshop and by the end of the workshop, we created a presentation on PDF which can be used to present our work. Here are some screenshots of the technical processes below:
The process above was steps on how we enhanced our sketches to make our work look vibrant and lively - and also got rid of unwanted lines. We also looked at how we should use enough white space and centre our sketches equally.
The next part of these screenshots is the way to create an InDesign document to create a presentation and export it into a PDF which is universal. This bit to me was quite familiar because it links to our studio work and it's a technique that I've used for each brief.
However, we learned even further skills where we can create interactive pdfs that can include videos and you can adjust how you want it to begin. We can also create buttons and navigation links that could direct us to hyperlinks or videos.
Wednesday, 14 March 2018
6. Showreel
Here is the final outcome from the last AfterEffects workshop with Sara. I've created this glitch effect that I was embedding from my Speculative Future brief and created this title and credit page. I've also included free sound from Bensounds so credits to this individual. My inspiration for this little personal touch came from the Black Mirror that I've also attached below:
Using a Youtube tutorial, I've gone out my own ways to create a glitch effect on AfterEffects that I've attached below:
Here is the final piece below:
Y2 Final Showreel from Faisal Islam on Vimeo.
Using a Youtube tutorial, I've gone out my own ways to create a glitch effect on AfterEffects that I've attached below:
Here is the final piece below:
Monday, 12 March 2018
5. Stencil Part 2
This is one of the workshops I missed due to the weather conditions. However, I still made an attempt to do this at home. Surprisingly, I was quite impressed with the outcome because I brought back the 'XO' and I used quite a few different ways of printing on which you can see in the pictures below.
Friday, 16 February 2018
5. Adobe Premier Vids
In this workshop, we learned how to use Adobe Premier. We also created a slideshow and a showreel. This could be useful to create a portfolio of work or perhaps a presentation for the end of the year. Here are the videos embedded below:
Adobe Premier - Showreel from Faisal Islam on Vimeo.
Adobe Premier - Slideshow from Faisal Islam on Vimeo.
Outside the workshop, I've created a little personal slideshow as an addition to make it my own. This is a combination of some of last year's work along with some street photography I did around Huddersfield and Leeds. This goes to show that the setup from the original slideshow works and by tweaking a few images and sound transitions, we can create multiple slideshows. Here is my independent slideshow below:
Additional Slideshow from Faisal Islam on Vimeo.
Outside the workshop, I've created a little personal slideshow as an addition to make it my own. This is a combination of some of last year's work along with some street photography I did around Huddersfield and Leeds. This goes to show that the setup from the original slideshow works and by tweaking a few images and sound transitions, we can create multiple slideshows. Here is my independent slideshow below:
Wednesday, 7 February 2018
5. Heritage Quay
This Aftereffects was all about mapping information. We was working with data and statistics creating an transforming animation. We got the chance to take part in this live brief and create a informational animation for our live brief Heritage Quay. We looked at ways of using effects, masks and transitions along with sticking to the original logo and colour scheme. This was taken further into a collaboration with everyone else's work to create a long video all about Heritage Quay.
Below is a transforming animation that is quite a reference to what we tried to create. You can see how each frame is transformed and there's uses of text, shapes and colours that flows throughout.
Year in Sport / Strava from Vucko on Vimeo.
Here's my animation below:
Heritage Quay from Faisal Islam on Vimeo.
Below is a transforming animation that is quite a reference to what we tried to create. You can see how each frame is transformed and there's uses of text, shapes and colours that flows throughout.
Here's my animation below:
Thursday, 1 February 2018
4. The Stencil
In this workshop, we created stencil drawings and typography on card and painted them onto card. I think it was fun doing the drawing but by the time I started typography, I did begin to feel the strain on my hands from the cutting so the cutouts was bit rough. However, it gives it good effect especially with the way i painted it in red. The texture can pull of like it's blood. Here are my images from the workshop below:
Thursday, 25 January 2018
4. Character Design
In this Cinema4D, we created a character and made a short animation of a rotation. This was interesting to make because we got to build it from scratch so it was interesting to see how it all came together.
Thursday, 7 December 2017
3. The Posterzine
In this workshop, we created more posters and zines only this time focused on our face. We were given our ID image to begin with and we deconstructed our face. Then we got some textured paper and re-created an image of us using the tones on of the texture. We also had our faces scanned against the scanner. Here are some of my images from the workshop below:
Thursday, 30 November 2017
3. Cinema 4D Packaging
In this workshop, we created packaging on Cinema 4D such as a drink can and bottle. This workshop was good because we got an experience of how we can design our own 3d packaging on Cinema 4d and then make it look real with textures and shadows. Here are some of the images i've created below.
Here is a design I've incorporated within this workshop using the same Cinema 4D file. I've created my own 'XO' energy drink that's been a common theme within my process and production work. The can is matte black that was inspired by this monster can. I've kept the design simple to demonstrate how the product looks within my own mockup.
Tuesday, 28 November 2017
3. The Hand
So from my sketchbook, I've decided to use this XO as part of my designs and collaborate it between theory and p&p because it's one of my main interest points. This is an animation that was mainly focusing on handwritten drawings being looped with some additional effects. I've also included The Weeknd's 'Starboy' Instrumental from a copyright free website.
Here are my drawings below that are 3 same images but with slight changes to form movements.
Thursday, 16 November 2017
2. The Poster
In this workshop, we were cutting out letters to make up a poster that is part of music lyrics. We did individual posters then a group collab where we all assigned a line or two. This workshop was good because it made me think about layout and fitting all the content in. This will help me when I create posters in the future.
Wednesday, 1 November 2017
1. Zines
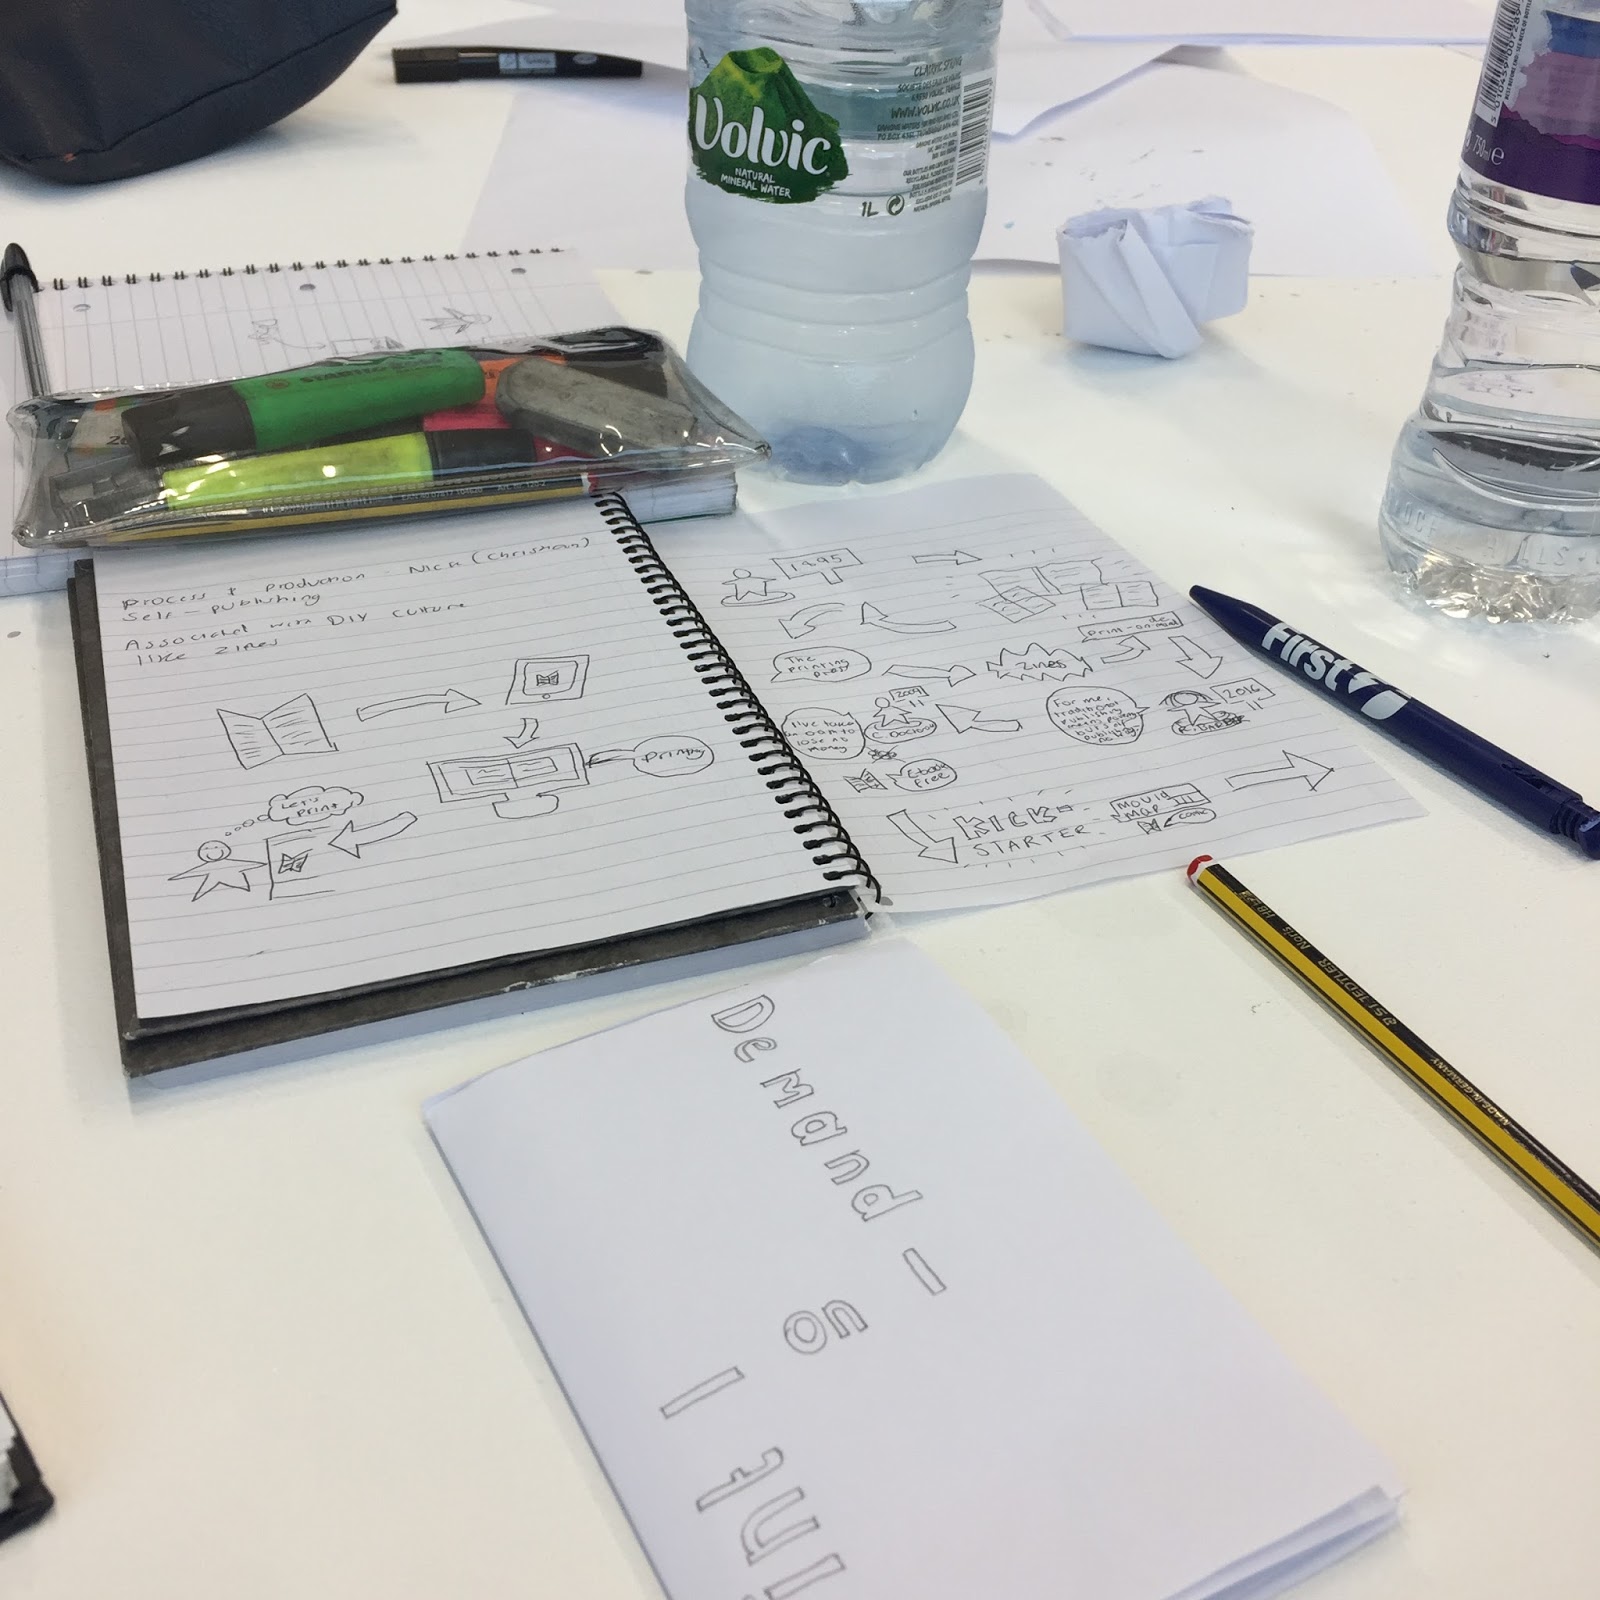
In this workshop, we had Christian introduce Zines to us. This workshop was great to learn how to make paper zines. I will be considering zines/brochures for my final outcomes for my studio project. We were experimenting with drawing information we hear, this was quite interesting because it created a storyboard telling a narrative.
Friday, 27 October 2017
2. Cinema 4d - Textures and Particles
In comparison to the last Cinema 4d session, this was much more detailed creating different little animations on Cinema 4d. Here are some screenshots below and my videos below:
2. Rotoscoping
In this second workshop, we created a second video and used this material to rotoscope. I then used different effects in every loop and created this retro looking style. This is my video below:
Rotoscoping from Faisal Islam on Vimeo.
1. Cinema 4d - Logo
In the first Cinema 4d workshop, we created 2d artwork on Illustrator and transformed them into a 3d rotating animation. I've designed this logo using shapes which was inspired by The Weeknd with his XO label. For the animation to run smooth, we had to add flooring, light and shadows to make it seem natural. I quite like using Cinema 4d and it just helps having step by step guidance on how to use the software.
Cinema 4D - Logo Rotation from Faisal Islam on Vimeo.
1. Exploring Geometry
Year 2's Process and Production begins with Sara's workshop on Exploring Geometry. This workshop allowed us to create shapes on Illustrator that were edited further using motion graphics production techniques on After Effects to create this animation. This was also an introduction to using expressions, much developed effects, and the wiggler. Here is my animation below:
Geometry Shapes from Faisal Islam on Vimeo.
I think my favourite bit from this workshop is how you can manipulate the shape to another, so in mine it went from a triangle to a square. The wiggler effect is also pretty cool and can be useful if the animation could be linked to music and sound waves. Overall it's been a successful session.
Subscribe to:
Posts (Atom)